Admin Agent Management
Administrators create and manage organization-wide AI agents that serve as standardized tools deployed across the company based on roles and permissions.
Access the admin panel at admin.playground.galene.ai using your user platform credentials.
Organization Agents vs Personal Agents
Organization Agents (Admin-created):
- Company-wide resources managed by administrators
- Connected to enterprise data sources (databases, knowledge bases, MCP servers)
- Subject to governance and compliance policies
- Role-based access controls
Personal Agents (User-created):
- Individual tools users create themselves
- Private by default
- Limited to personal data sources
Creating Organization Agents
Organization agents are AI assistants that can be shared across your entire organization or with specific teams. Follow this guide to create and configure an agent that meets your organization's needs.
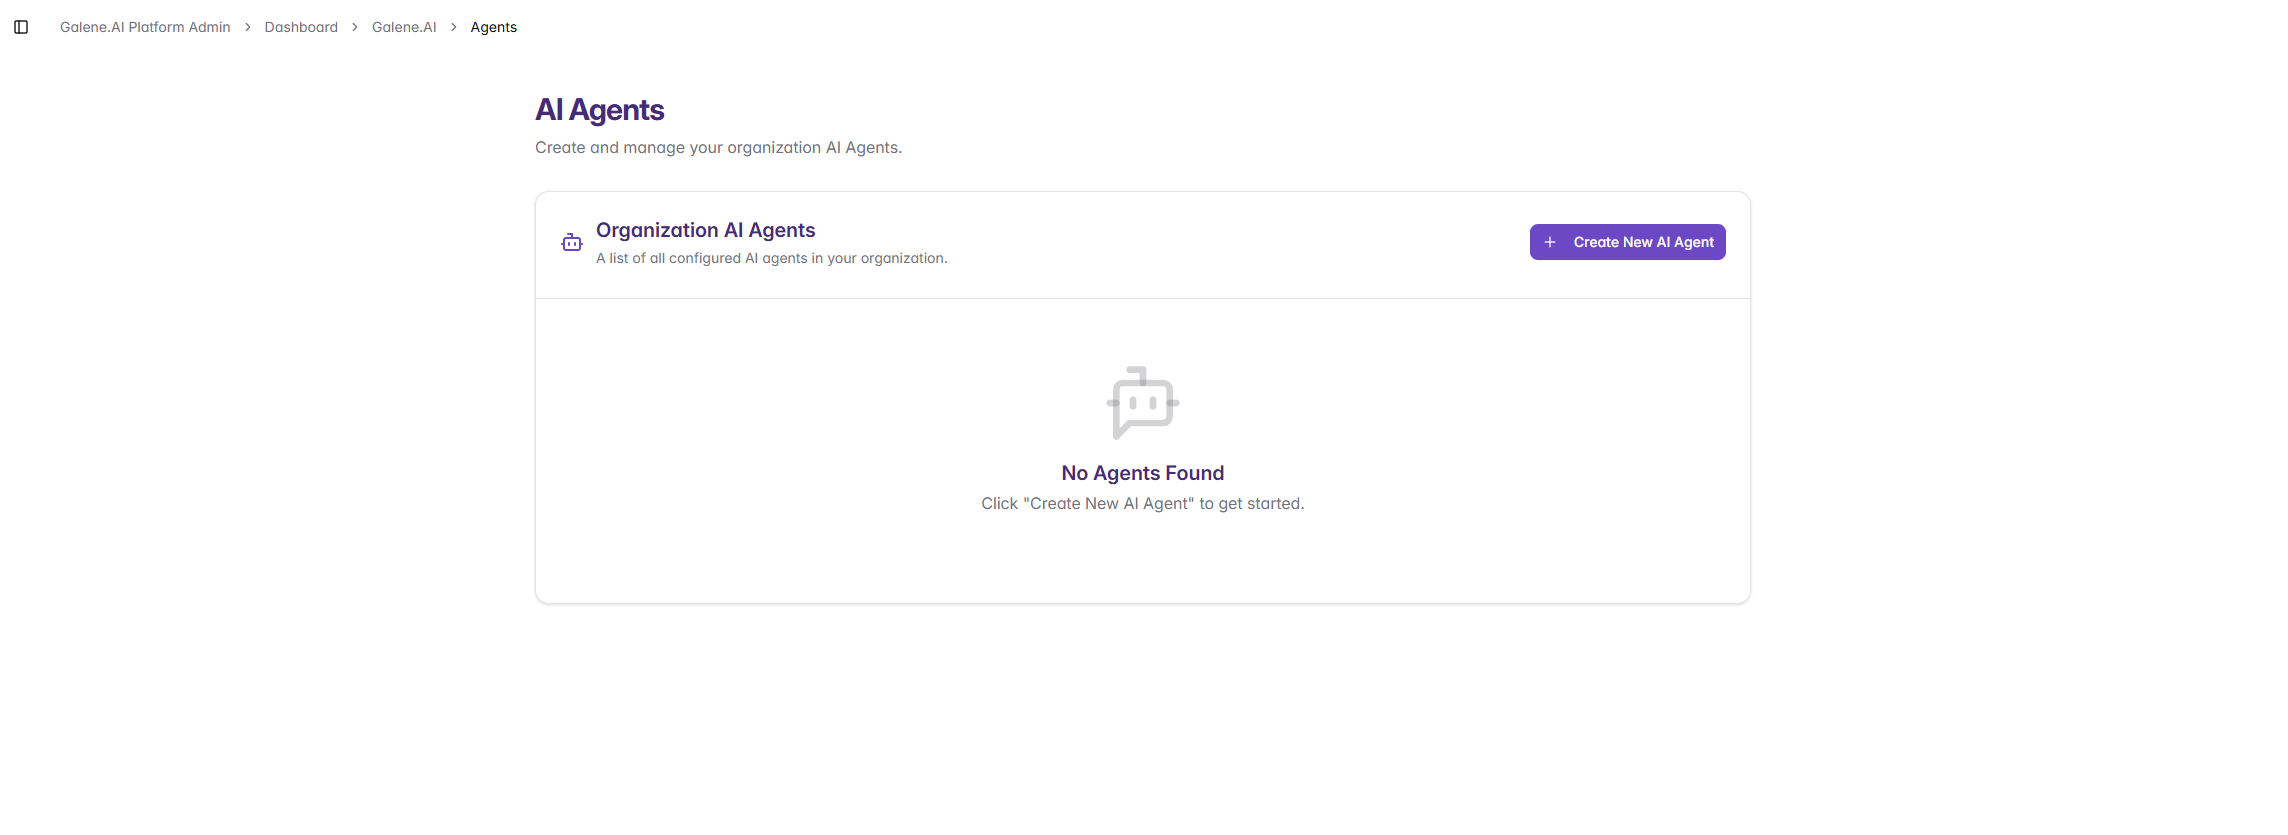
Step 1: Start Agent Creation
- Go to admin.playground.galene.ai
- Click Agents in the left sidebar
- Click the Create New AI Agent button
Step 2: Define Your Agent's Identity
Give your agent a clear name and purpose by defining its job profile.
Agent Name: Choose a descriptive name (e.g., "HR Policy Assistant", "Sales Knowledge Bot")
Job Profile: Write a clear description of what your agent does. This helps the AI understand its role and respond appropriately.
Example Job Profile:
You are the official company policy assistant for [Company Name].
Your responsibilities include:
- Providing accurate policy information
- Explaining compliance requirements
- Directing users to appropriate resources
- Maintaining consistent policy interpretation
💡 Tip: For more guidance on crafting effective job profiles, see the User Agent Creation Guide.
Step 3: Enable Core Capabilities
Choose which capabilities your agent needs to perform its job.
For detailed information about each capability, see Core Capabilities.
Step 4: Set Access Permissions

Control who can use this agent:
- Everyone: Make the agent available to all organization members
- Specific Roles: Limit access to selected roles (e.g., only HR team, only managers)
You can change these permissions anytime after creation. To manage roles in your organization, see Roles & Permissions.
Step 5: Connect Knowledge Sources
Connect your agent to the information it needs to answer questions accurately.
Upload Files Directly:
- File Upload: Upload documents
- Web Scraping: Connect to websites
Connect Enterprise Systems:
- Database Connections: Connect to databases
- Knowledge Base Systems:
- SharePoint: Connect SharePoint sites
- Google Drive: Connect Google Drive folders
- S3 Compatible Storage: Connect S3 buckets
- Samba: Connect Samba shares
- MCP Server Integrations: Connect MCP servers
Step 6: Review and Create
Review all your settings and click Create Agent to make it available to your organization.
Step 7: Generative Shield
After creating your agent, you can override organization-wide generative shield settings with custom policies.
To configure custom Generative Shield settings:
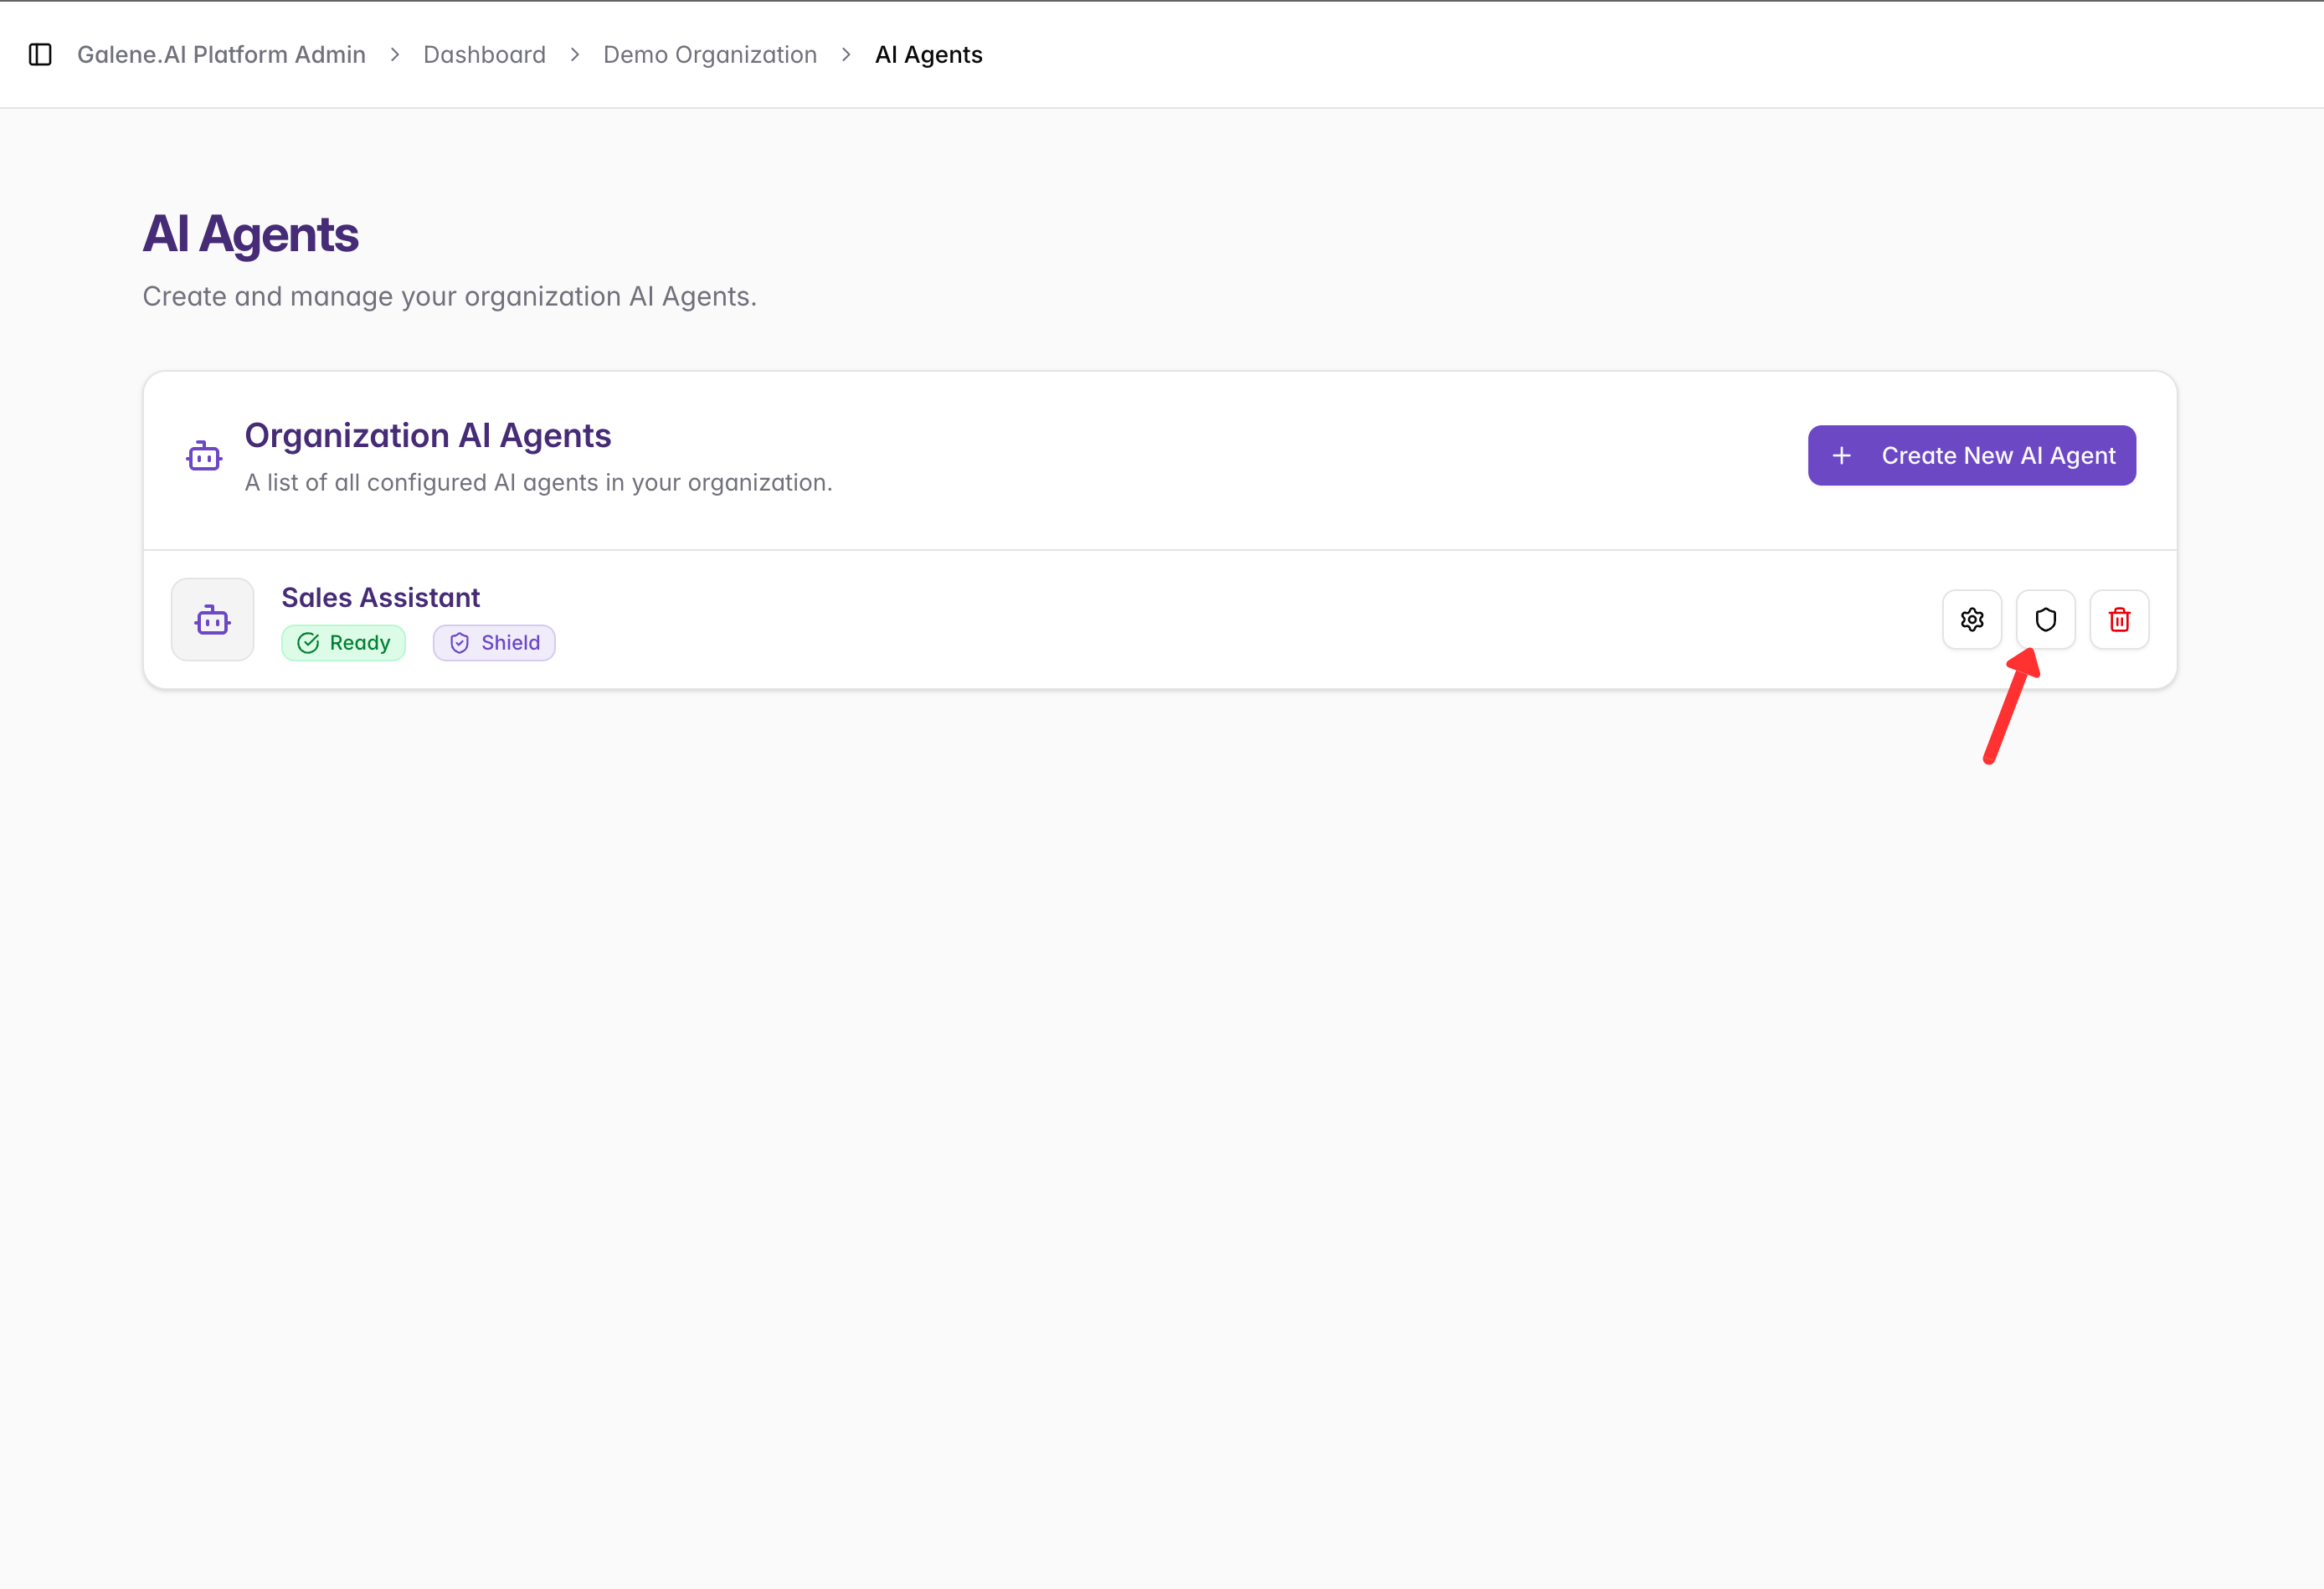
- Go to the Organization AI Agents page
- Find your agent in the list
- Click the shield icon next to the agent's name
- Adjust the Generative Shield filters and policies:
- Content filtering rules
- Response safety levels
- Compliance requirements
- Click Save to apply your changes
These custom settings will only apply to this specific agent. Learn more about available security options in the Generative Shield documentation.
Next Steps
- Enterprise Connectors - Configure organizational data sources
- User Management - Set up roles and access controls
- Generative Shield - Implement content moderation and compliance
- Agent Audio Settings - Configure language-specific TTS voice overrides
- User Agent Guide - Help users create personal agents
For user-focused agent creation, see the User Agent Creation Guide.