SharePoint Connector
The SharePoint connector enables access to Microsoft SharePoint document libraries and sites.
Prerequisites
Before creating a SharePoint connector, you need:
- A Microsoft Azure Active Directory application
- Appropriate permissions for SharePoint access
- SharePoint site URL and document library information
Setting up Azure AD Application
- Go to the Azure Portal
- Navigate to Azure Active Directory > App registrations
- Click New registration
- Provide an application name
- Set the redirect URI (if using OAuth)
- After creation, note the Application (client) ID and Directory (tenant) ID
- Go to Certificates & secrets and create a new client secret
- Navigate to API permissions and add the following Microsoft Graph permissions:
Sites.Read.AllorSites.ReadWrite.AllFiles.Read.AllorFiles.ReadWrite.All
- Grant admin consent for the permissions
Configuration Fields
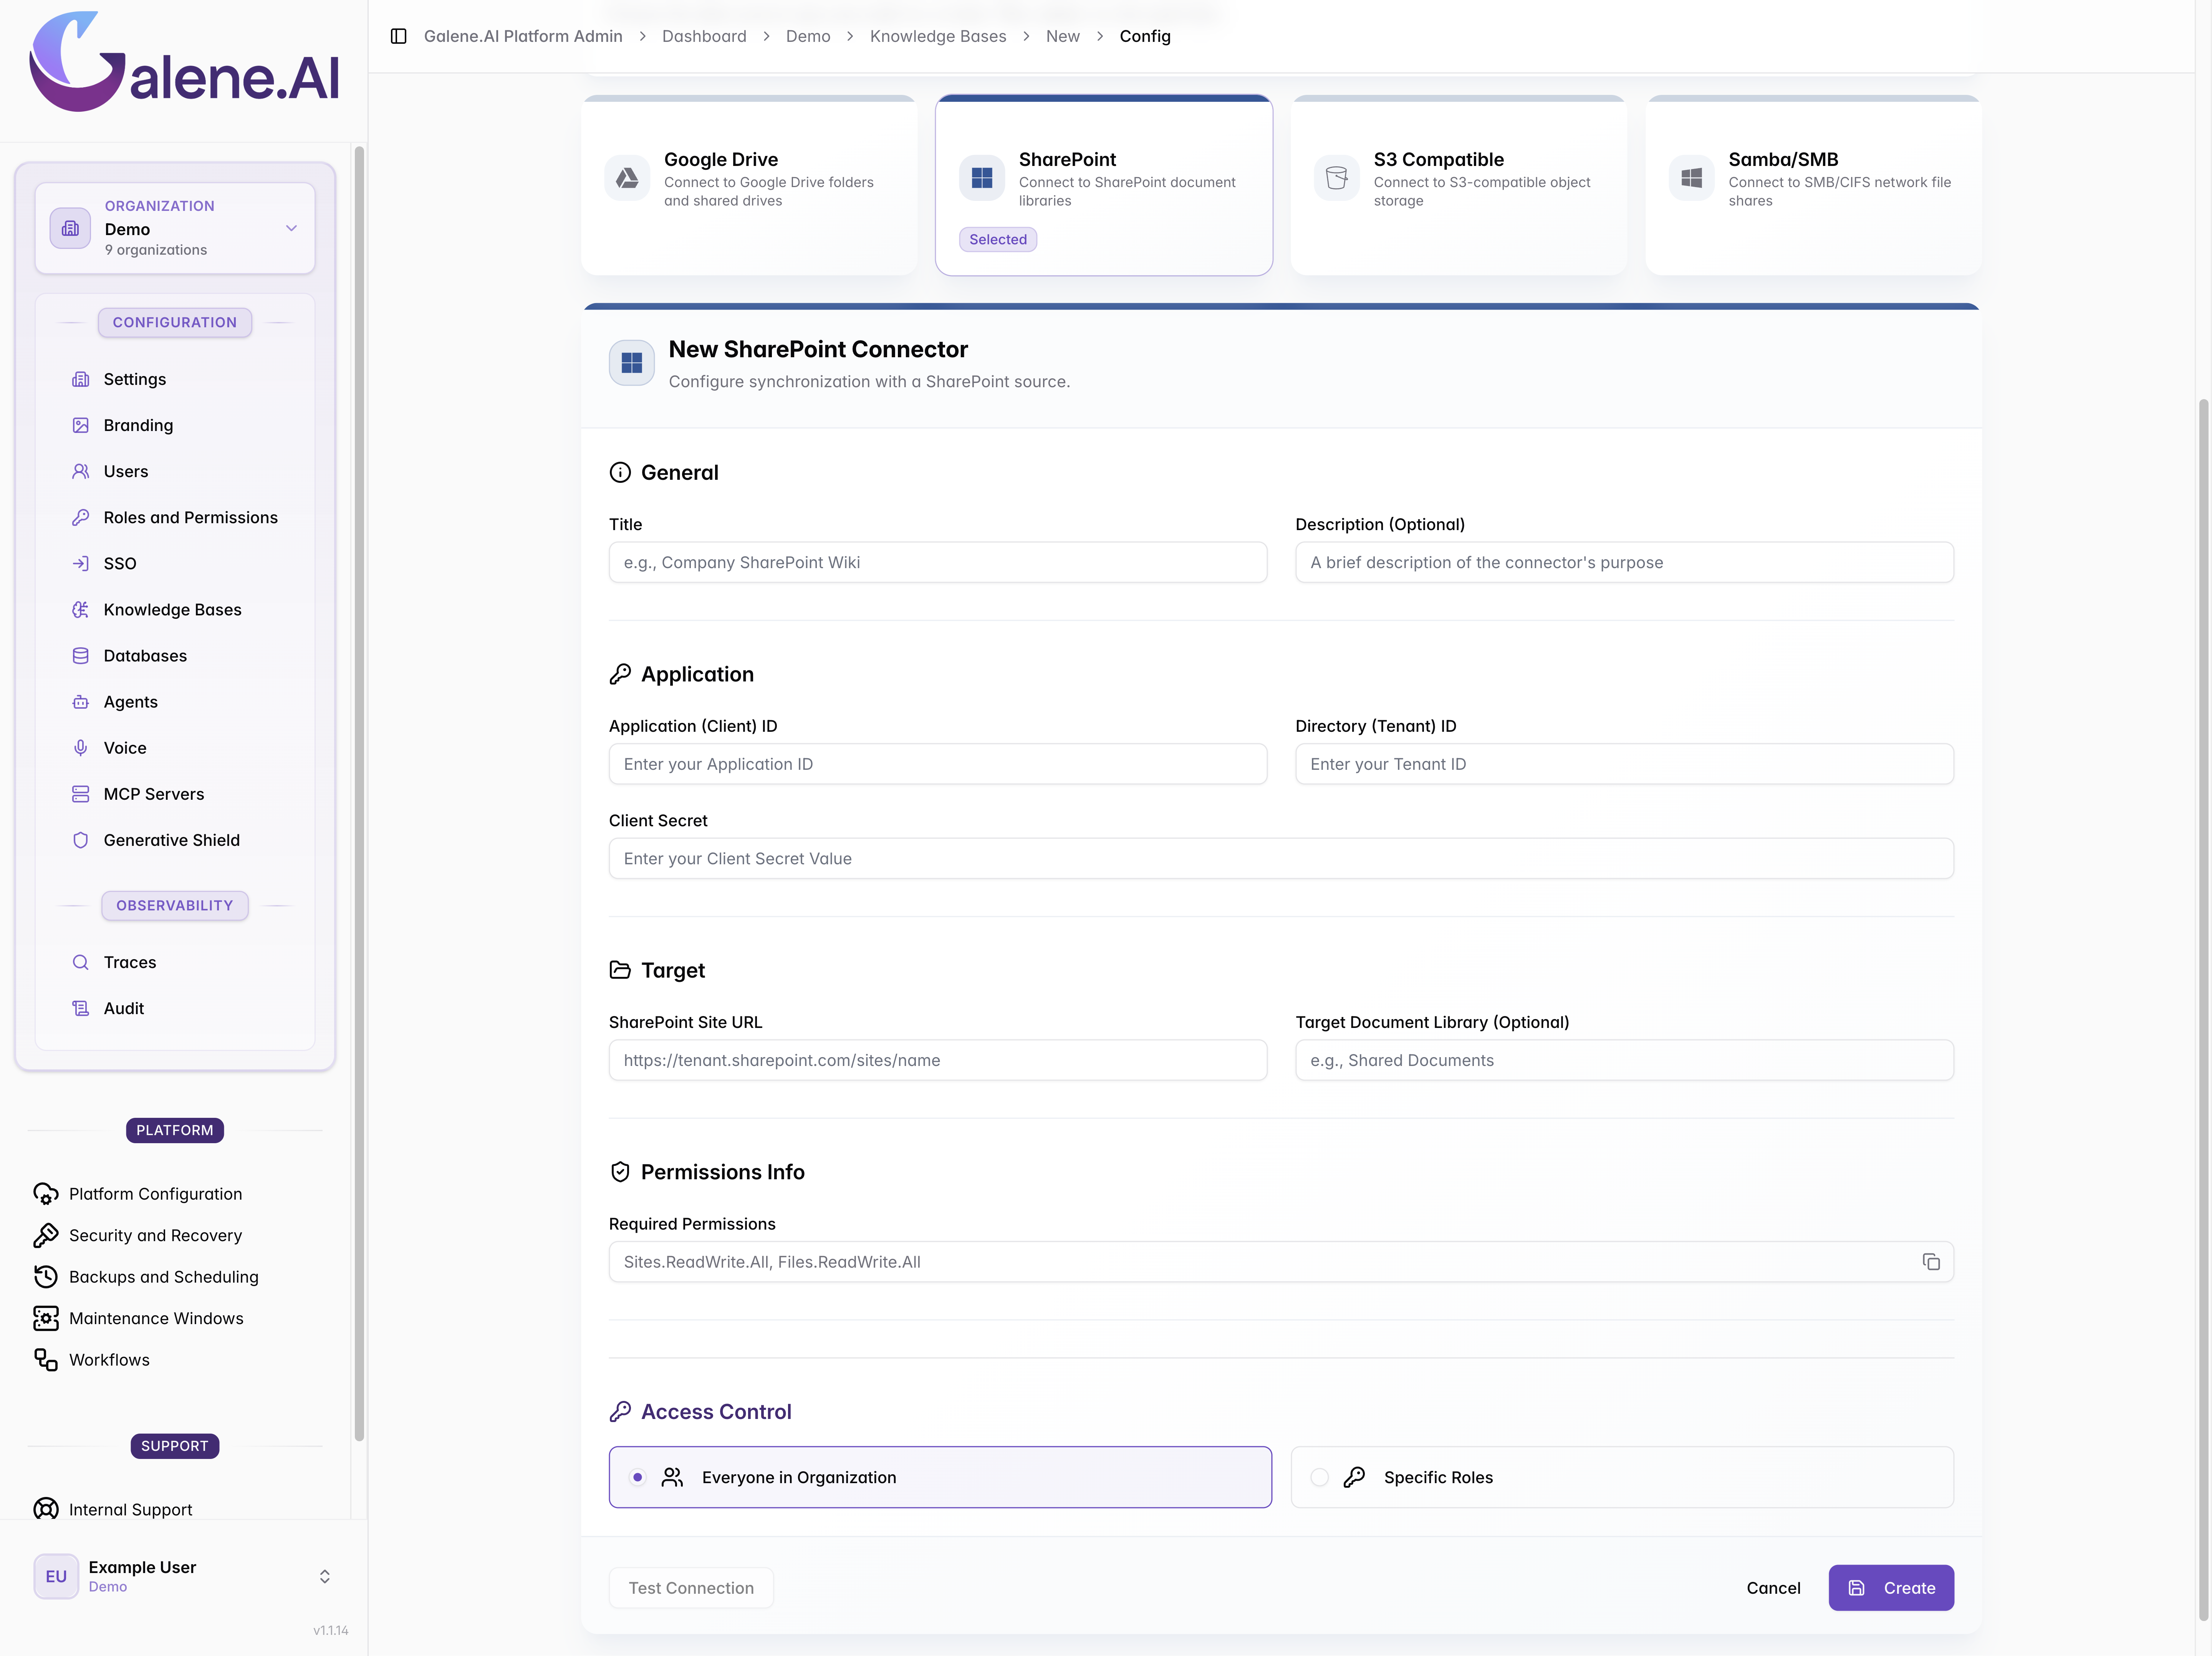
Required Fields:
- Title: A descriptive name for your connector
- Application (Client) ID: From your Azure AD app registration
- Directory (Tenant) ID: Your Azure AD tenant ID
- Client Secret: From your Azure AD app registration
- SharePoint Site URL: Full URL of your SharePoint site
Optional Fields:
- Description: An optional description
- Target Document Library: Specific document library name (defaults to "Documents")
- Required Permissions: SharePoint permissions needed (auto-filled)
Finding SharePoint Information
SharePoint Site URL
To get your SharePoint site URL:
- Open your SharePoint site in a browser
- Copy the URL up to the site name:
https://yourtenant.sharepoint.com/sites/sitename
Document Library Names
To find document library names:
- Navigate to your SharePoint site
- Click on the document library in the left navigation
- The library name appears in the URL and page title
Finding Azure AD Information
Application (Client) ID
- In Azure Portal, go to Azure Active Directory > App registrations
- Click on your registered application
- On the Overview page, copy the Application (client) ID
Directory (Tenant) ID
- On the same Overview page of your app registration
- Copy the Directory (tenant) ID
Client Secret
- In your app registration, go to Certificates & secrets
- Under Client secrets, click New client secret
- Add a description and choose expiration period (24 months recommended)
- Click Add and immediately copy the Value field
- ⚠️ Important: The secret value is only shown once - save it securely!
API Permissions Setup
- In your app registration, go to API permissions
- Click Add a permission > SharePoint > Application permissions
- Add required permissions:
Sites.Read.All(to read all sites)Files.Read.All(to read files)
- Click Grant admin consent - this step is critical for the connector to work
Target Folders (Optional)
You can specify target folders to limit indexing scope. Navigate to the desired folder in SharePoint and use the path structure from the URL.